
How to Fix a Windscreen Crack: A Step-by-Step Guide
A crack in your windscreen can be more than just an eyesore; it can compromise your vehicle's integrity and safety. Whether caused by a stray pebble or a sudden temperature change, addressing cracks promptly is crucial. Fortunately, with the right tools and approach, you can fix minor cracks at home. This guide will walk you through the process step-by-step.
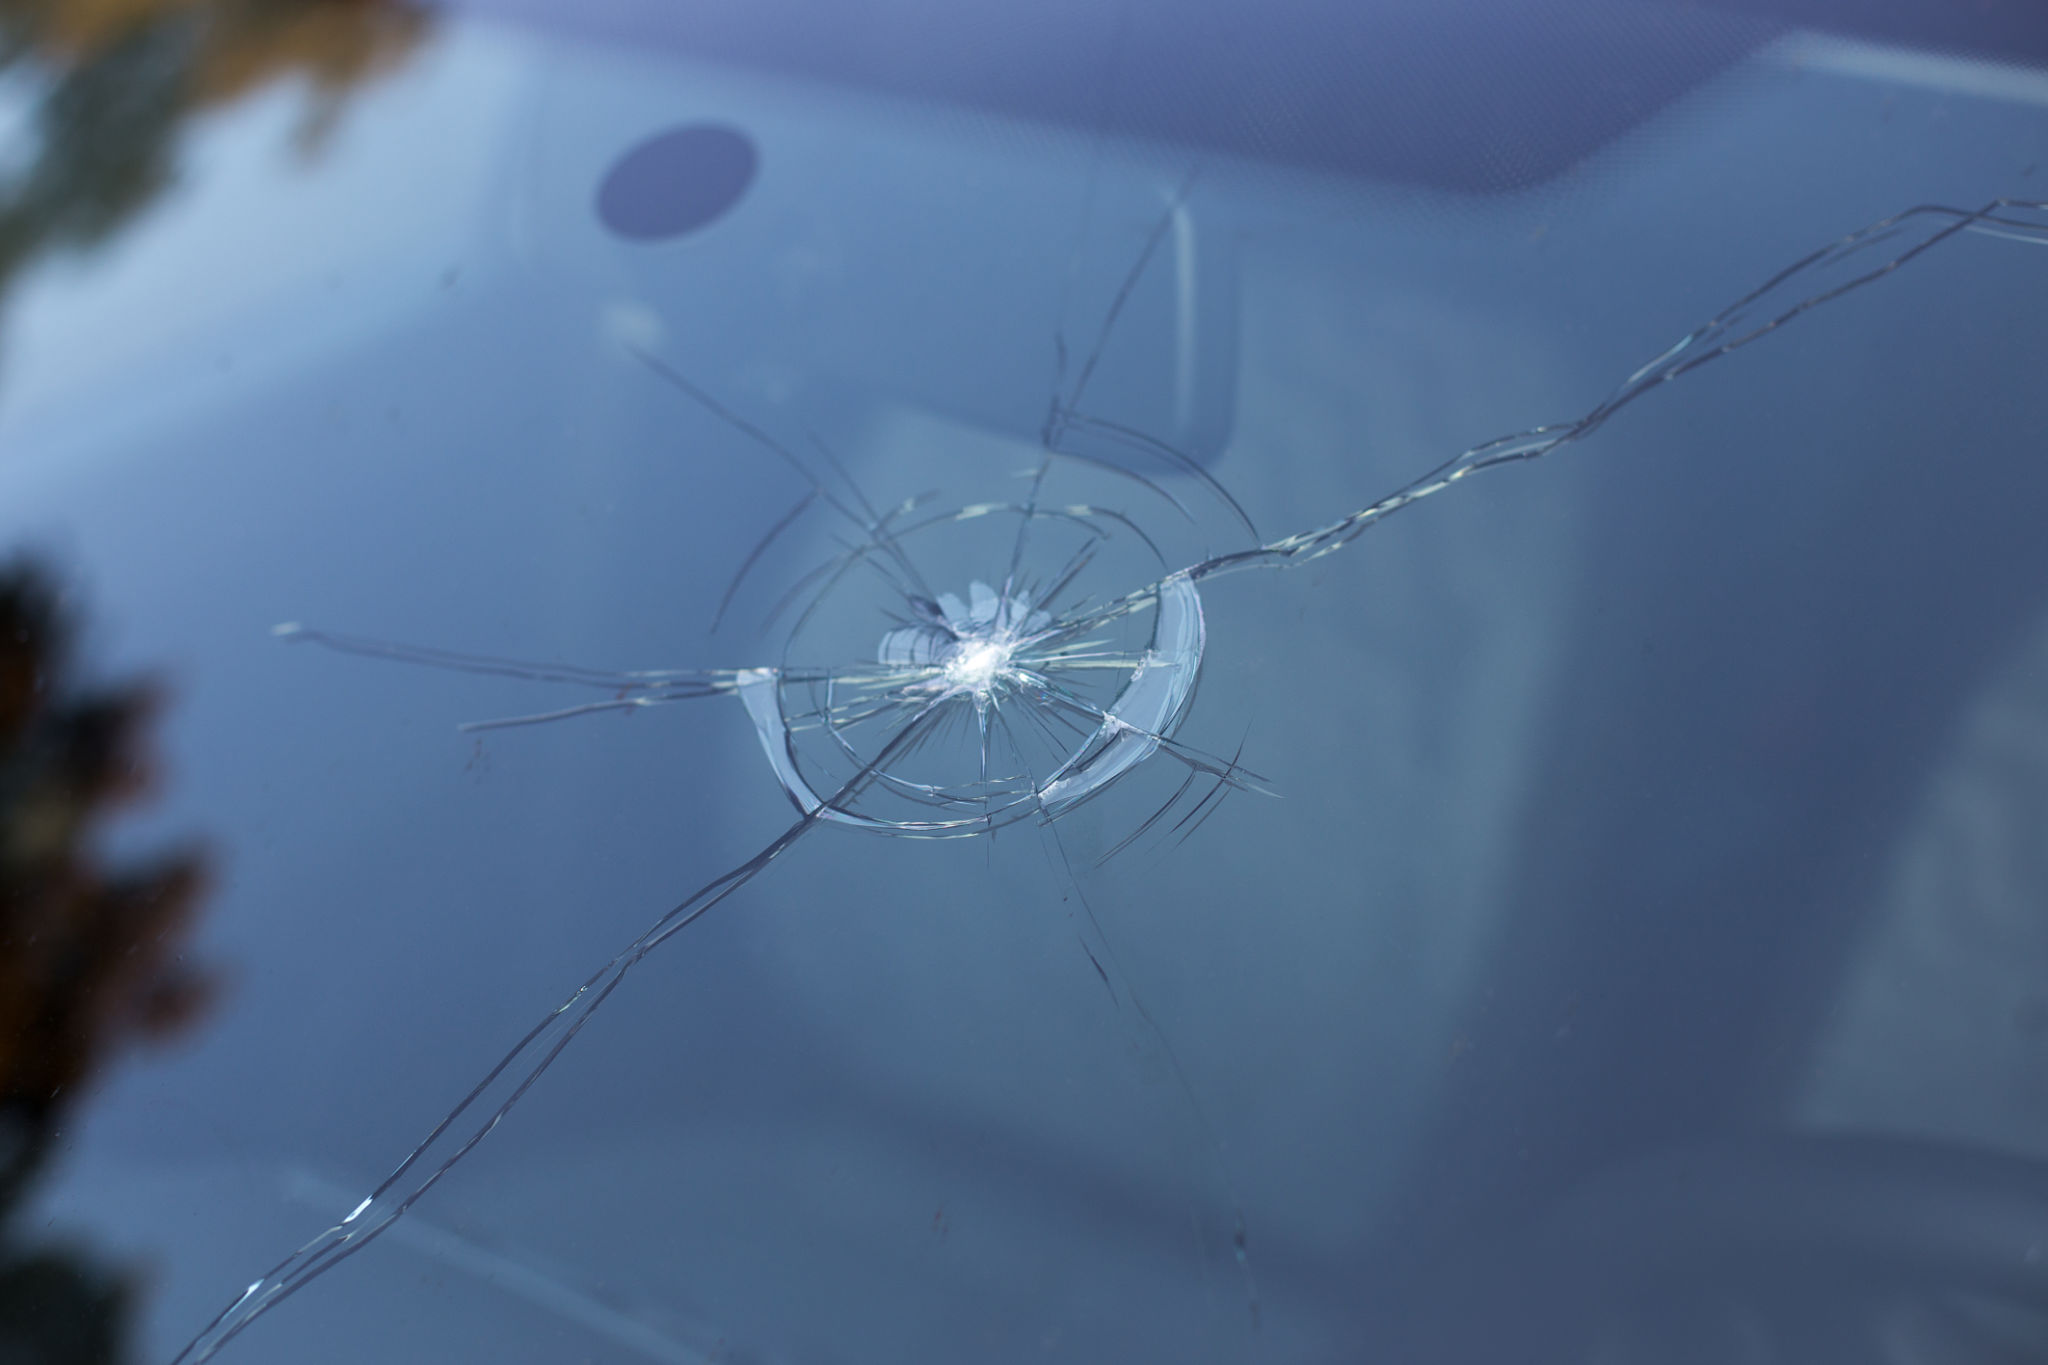
Assess the Damage
Before you rush into repairs, it's important to assess the extent of the damage. Windscreen cracks come in various sizes and shapes, and not all are repairable at home.
Determine Crack Type
Examine the crack closely. If it's a small chip or a minor crack under 12 inches, you might be able to repair it yourself. However, if the crack is extensive or resembles a spider web, it's best to consult a professional.
Check Visibility
If the crack obstructs your line of sight while driving, prioritize immediate professional assistance. Safety should always come first.
Gather Your Tools
Once you've determined that a DIY repair is feasible, gather the necessary tools. You will typically need:
- A windscreen repair kit (available at most auto parts stores)
- Safety gloves and goggles
- A clean, dry cloth
- Rubbing alcohol
Purchase a Quality Repair Kit
Investing in a high-quality repair kit is essential. These kits usually contain resin and a device to apply it effectively. Follow the instructions carefully for optimal results.

Prepare the Windscreen
Preparation is key to a successful repair. Follow these steps to ensure your windscreen is ready:
Clean the Area
Use the clean, dry cloth and rubbing alcohol to thoroughly clean the area around the crack. Remove any dirt, debris, or moisture that could interfere with the resin's adhesion.
Ensure Dry Conditions
Avoid performing repairs in wet or humid conditions. If possible, work in a garage or wait for a dry day to ensure the resin cures properly.
Apply the Resin
With your tools ready and the windscreen prepped, it's time to apply the resin from your repair kit:
Follow Kit Instructions
Every repair kit operates slightly differently, so adhere closely to the provided instructions. Generally, you'll apply the resin using a syringe-like tool that injects it into the crack.

Cure the Resin
After applying the resin, allow it to cure as directed. This may involve exposing it to sunlight or using a special UV light included in your kit.
Finish and Inspect
Once the resin has fully cured, inspect your work:
Remove Excess Resin
If any excess resin remains on the windscreen's surface, gently scrape it away with a razor blade provided in most kits. Ensure a smooth and clear finish.
Evaluate Repair Success
Your repair should have filled the crack, leaving it less visible and preventing further spreading. If any issues remain, consider consulting a professional for further assistance.
By following these steps diligently, you can effectively manage minor windscreen cracks and maintain your vehicle's safety and aesthetics. Remember that for larger or more complex damages, professional help is always recommended.